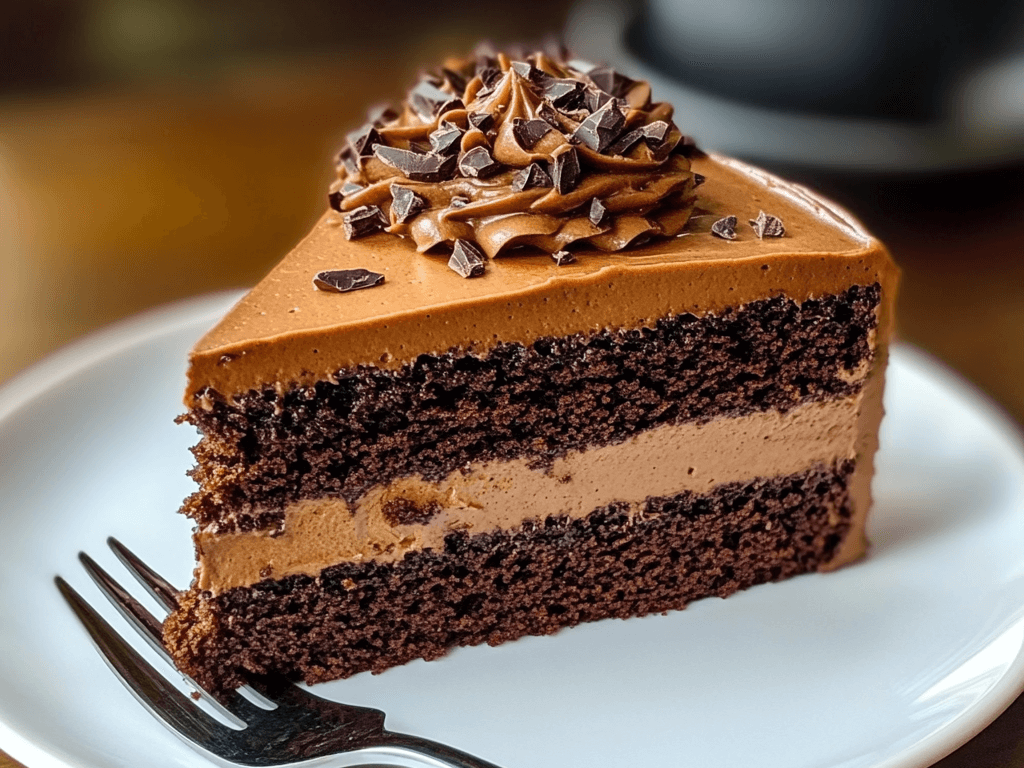
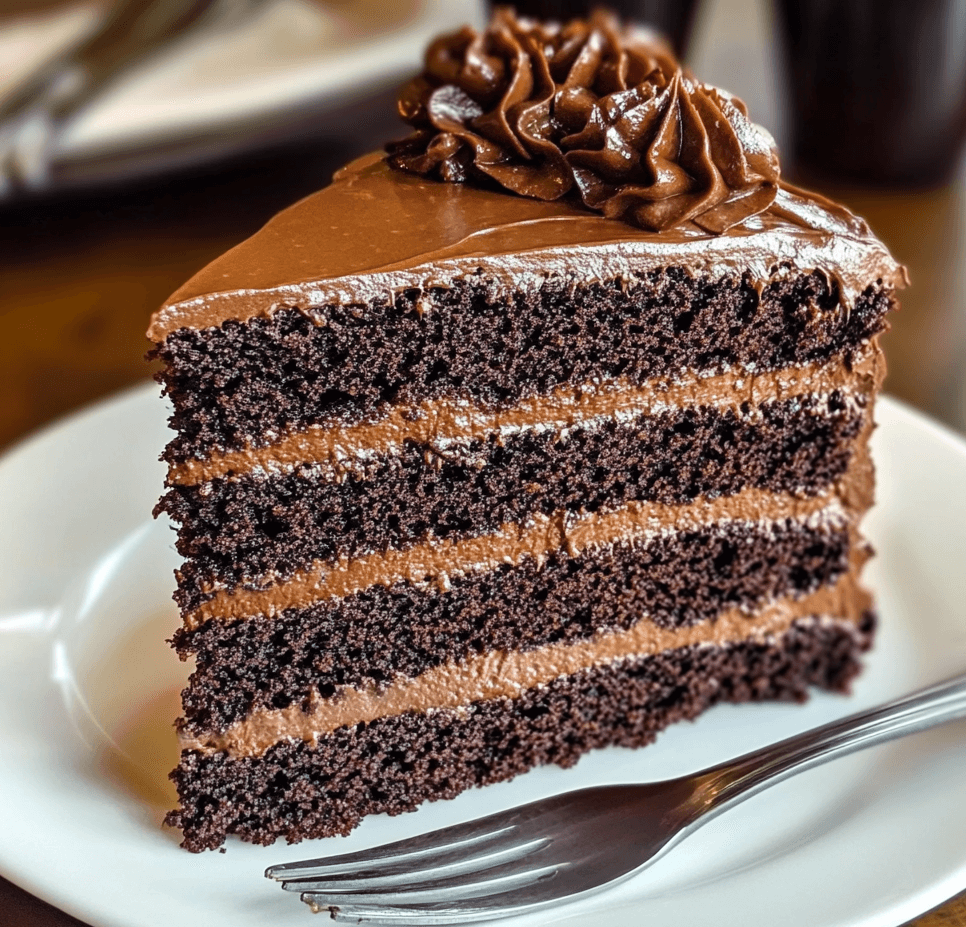
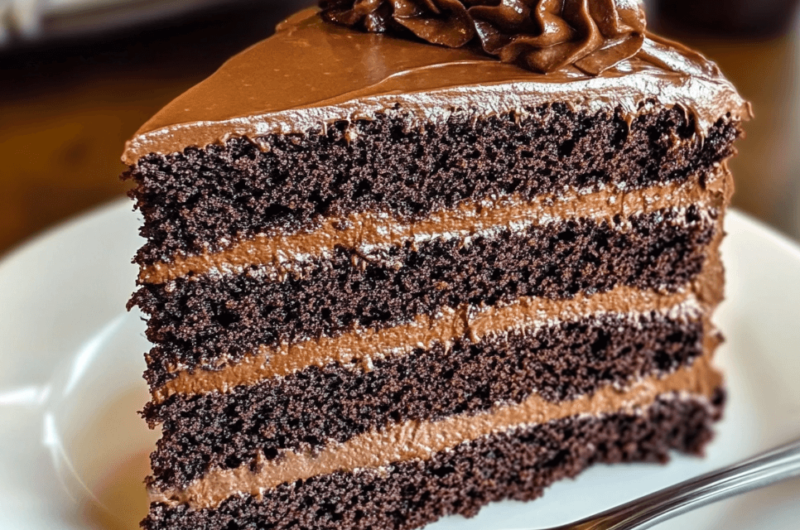
If you’re a fan of rich, chocolatey desserts with a hint of bold espresso, this Chocolate Espresso Cake is your dream come true. Moist, flavorful, and surprisingly light, this cake offers a perfect balance of indulgence and health-conscious eating. Whether you’re hosting a dinner party or satisfying your sweet tooth, this cake will win you over without derailing your progress.
Ingredients
For the Cake:
- 1 cup whole wheat pastry flour (or all-purpose flour)
- 1/3 cup unsweetened cocoa powder
- 1 teaspoon baking powder
- 1/2 teaspoon baking soda
- 1/4 teaspoon salt
- 1/2 cup granulated sugar substitute (like Stevia or Monk Fruit)
- 1/4 cup brewed espresso (cooled to room temperature)
- 1/4 cup unsweetened applesauce
- 1/4 cup plain nonfat Greek yogurt
- 1 teaspoon vanilla extract
- 2 large eggs
- 1/3 cup unsweetened almond milk
For the Espresso Glaze (Optional):
- 1/4 cup powdered sugar substitute
- 1 tablespoon brewed espresso
- 1/4 teaspoon vanilla extract
Instructions
Preheat the Oven
- Preheat your oven to 350°F (175°C). Grease an 8-inch round cake pan with nonstick spray and line the bottom with parchment paper.
Mix the Dry Ingredients
- In a medium bowl, whisk together the flour, cocoa powder, baking powder, baking soda, salt, and sugar substitute.
Prepare the Wet Ingredients
- In a separate bowl, whisk together the espresso, applesauce, Greek yogurt, vanilla extract, eggs, and almond milk until smooth.
Combine the Ingredients
- Gradually add the wet ingredients to the dry ingredients, stirring until just combined. Be careful not to overmix, as this can make the cake dense.
- Pour the batter into the prepared cake pan and smooth the top.
Bake the Cake
- Bake for 20-25 minutes, or until a toothpick inserted in the center comes out clean.
- Allow the cake to cool in the pan for 10 minutes, then transfer to a wire rack to cool completely.
Prepare the Espresso Glaze (Optional)
- In a small bowl, whisk together the powdered sugar substitute, brewed espresso, and vanilla extract until smooth.
- Drizzle the glaze over the cooled cake for an extra burst of espresso flavor.

Nutritional Information
(Per Serving)
- Calories: ~150
- Protein: 5g
- Carbohydrates: 18g
- Fat: 4g
- Fiber: 3g
- WW Points: ~5 (varies by plan and specific ingredients)
Why You’ll Love This Recipe
- Decadent Yet Light: This cake delivers all the indulgence of chocolate and espresso without excess calories or fat.
- Rich Flavor: The espresso enhances the chocolate flavor, creating a sophisticated dessert perfect for coffee lovers.
- Simple Ingredients: You likely already have everything you need in your pantry.
- Customizable: Add a sprinkle of mini chocolate chips or a dusting of cocoa powder for extra flair.
Tips for Success
- Brew Strong Espresso: Use a bold espresso blend for a more pronounced flavor.
- Don’t Overbake: Keep an eye on the cake during baking to ensure it stays moist.
- Storage: Store the cake in an airtight container at room temperature for up to 2 days or refrigerate for up to a week.
Serving Suggestions
- With a Scoop of Whipped Topping: Add a dollop of fat-free whipped topping for an extra creamy element.
- Paired with Coffee: Enjoy a slice with a hot cup of espresso or cappuccino for the ultimate pairing.
- Topped with Berries: Fresh raspberries or strawberries make a perfect garnish for added sweetness and color.
This Chocolate Espresso Cake is proof that you don’t have to sacrifice flavor for health. With its deep chocolate taste, bold espresso notes, and moist texture, it’s a dessert that feels indulgent but fits perfectly into your Weight Watchers plan. Whip it up for a special occasion or just because—you deserve it!
Indulge in the Best Chocolate Espresso Cake You’ve Ever Tasted
12
servings20
minutes30
minutes150
kcalIngredients
For the Cake:
1 cup whole wheat pastry flour (or all-purpose flour)
1/3 cup unsweetened cocoa powder
1 teaspoon baking powder
1/2 teaspoon baking soda
1/4 teaspoon salt
1/2 cup granulated sugar substitute (like Stevia or Monk Fruit)
1/4 cup brewed espresso (cooled to room temperature)
1/4 cup unsweetened applesauce
1/4 cup plain nonfat Greek yogurt
1 teaspoon vanilla extract
2 large eggs
1/3 cup unsweetened almond milk
For the Espresso Glaze (Optional):
1/4 cup powdered sugar substitute
1 tablespoon brewed espresso
1/4 teaspoon vanilla extract
Instructions
- Preheat the Oven
Preheat your oven to 350°F (175°C). Grease an 8-inch round cake pan with nonstick spray and line the bottom with parchment paper. - Mix the Dry Ingredients
In a medium bowl, whisk together the flour, cocoa powder, baking powder, baking soda, salt, and sugar substitute. - Prepare the Wet Ingredients
In a separate bowl, whisk together the espresso, applesauce, Greek yogurt, vanilla extract, eggs, and almond milk until smooth. - Combine the Ingredients
Gradually add the wet ingredients to the dry ingredients, stirring until just combined. Be careful not to overmix, as this can make the cake dense.
Pour the batter into the prepared cake pan and smooth the top. - Bake the Cake
Bake for 20-25 minutes, or until a toothpick inserted in the center comes out clean.
Allow the cake to cool in the pan for 10 minutes, then transfer to a wire rack to cool completely. - Prepare the Espresso Glaze (Optional)
In a small bowl, whisk together the powdered sugar substitute, brewed espresso, and vanilla extract until smooth.
Drizzle the glaze over the cooled cake for an extra burst of espresso flavor.
Notes
- Brew Strong Espresso: Use a bold espresso blend for a more pronounced flavor.
Don’t Overbake: Keep an eye on the cake during baking to ensure it stays moist.
Storage: Store the cake in an airtight container at room temperature for up to 2 days or refrigerate for up to a week.

