
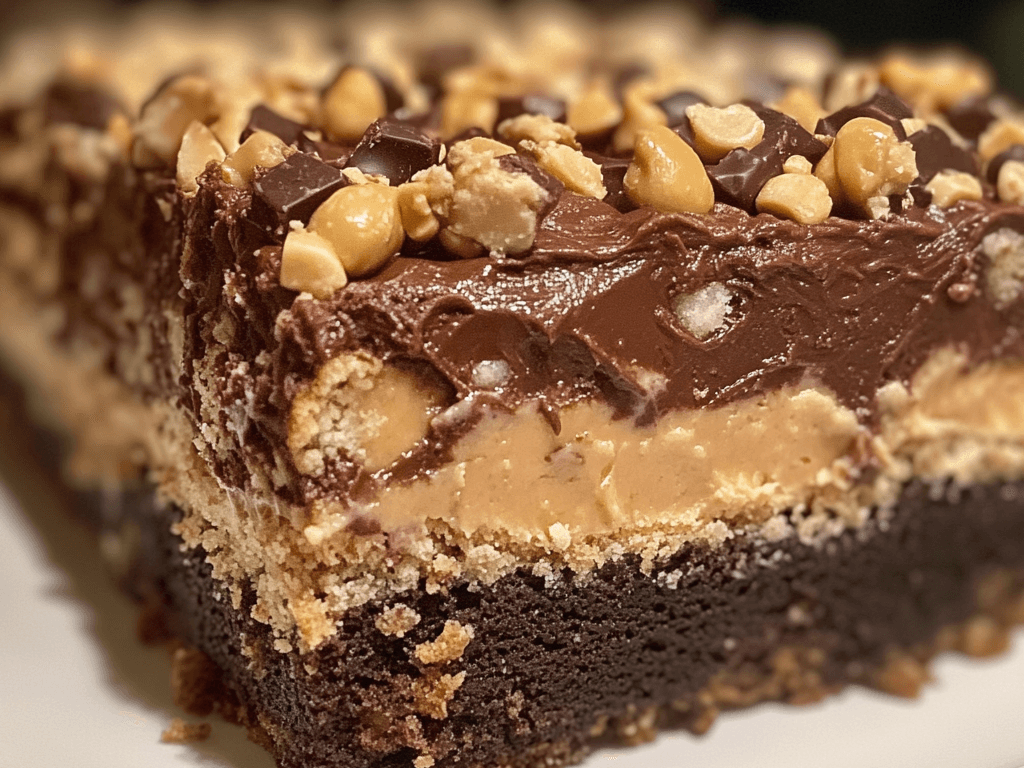
Looking for a decadent dessert that satisfies cravings for chocolate and peanut butter? Peanut Butter Chocolate Cake is the perfect blend of rich, wet and kind creamy chocolate cake with peanut butter. The poke cake technique allows the delicious peanut butter filling to leak into the cake, creating a flavored cure that is perfectly fun. Whether you’re hosting a party, celebrating a special occasion or just treating yourself, this dessert is sure to impress!
Why You’ll Love This Recipe
WW-Friendly: Low in SmartPoints, so you can indulge guilt-free.
Peanut Butter & Chocolate Perfection: A beloved combo with a healthier twist.
Moist & Flavorful: The poke cake method makes each bite extra moist and flavorful.
Easy to Make: Minimal prep and hands-on time required.
Great for Meal Prep: Make ahead and store for a few days in the fridge for a quick, satisfying dessert.
Ingredients
For the Cake:
- 1 box of sugar-free chocolate cake mix
- 1 cup unsweetened applesauce (instead of oil for a healthier fat swap)
- 3 large eggs
- 1 cup water
For the Peanut Butter Filling:
- ½ cup light peanut butter (smooth or chunky, depending on preference)
- ¾ cup nonfat Greek yogurt
- ¼ cup powdered sugar substitute (like erythritol or Stevia)
- 1 tsp vanilla extract
For the Topping:
- 1 cup light whipped topping
- 2 tbsp mini chocolate chips (optional)
- 2 tbsp light peanut butter, melted (for drizzling)
Instructions
Bake the Cake
- Preheat your oven to 350°F (175°C) and lightly grease a 9×13-inch baking pan.
- In a bowl, combine the sugar-free chocolate cake mix, applesauce, eggs, and water. Stir until well combined.
- Pour the batter into the prepared pan and bake for 25-30 minutes, or until a toothpick inserted into the center comes out clean.
- Let the cake cool for 10-15 minutes.
Create the Poke Cake
- Once the cake has cooled slightly, use the handle of a wooden spoon or a fork to poke holes all over the cake, about 1-inch apart.
- Make sure the holes go deep enough to hold the peanut butter filling.
Make the Peanut Butter Filling
- In a bowl, combine the peanut butter, Greek yogurt, powdered sugar substitute, and vanilla extract. Stir until smooth and creamy.
- Carefully spoon the peanut butter mixture over the cake, gently spreading it into the holes, allowing the filling to seep into the cake.
Add the Topping
- Spread the light whipped topping evenly over the entire cake.
- Drizzle the melted peanut butter over the top, and sprinkle with mini chocolate chips if desired.
Chill & Serve
- Refrigerate the cake for at least 2-3 hours to allow the flavors to meld and the cake to set.
- Slice, serve, and enjoy!
Nutritional Information (Per Slice, Based on 12 Servings)
Calories: 190 | Protein: 7g | Carbs: 23g | Fat: 9g | Fiber: 3g
WW SmartPoints: 5-6 per slice (depending on ingredient choices)
Tips for Success
- Use a sugar-free cake mix: Keeps the SmartPoints in check without sacrificing flavor.
- Let the cake cool: Ensures the peanut butter filling sets properly in the holes.
- Add More Peanut Butter Flavor: For an extra peanut butter punch, you can add some peanut butter powder to the filling mixture.
- Chill Before Serving: The cake holds together better and the flavors intensify after a few hours in the fridge.
- Make Ahead: This cake stores well in the fridge for up to 3 days, making it a great dessert for prepping ahead of time.
Why This Recipe Works for Weight Watchers
- Lower in Calories & Fat: Using applesauce instead of oil and light peanut butter makes this dessert lighter than traditional recipes.
- High in Protein: Greek yogurt and peanut butter provide a solid protein boost, helping keep you satisfied.
- Mindful Indulgence: With only a moderate number of SmartPoints, you can enjoy a rich dessert without feeling guilty.
- Simple Ingredients: Uses common, easy-to-find ingredients, and the no-bake poke method makes it hassle-free.
This Chocolate Peanut Butter Poke Cake is the ultimate dessert for those who love the classic combo of chocolate and peanut butter but want a healthier, SmartPoints-friendly version. With its moist chocolate cake, creamy peanut butter filling, and cool whipped topping, it’s perfect for any occasion—whether you’re entertaining guests or just treating yourself. The best part? You don’t have to feel guilty about indulging!
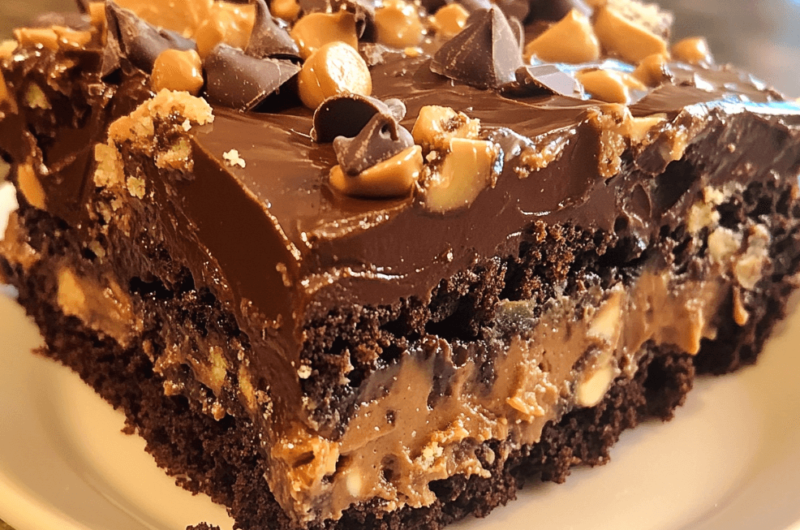
The Best Chocolate Peanut Butter Poke Cake You’ll Ever Taste
12
servings20
minutes30
minutes190
kcalIngredients
For the Cake:
1 box of sugar-free chocolate cake mix
1 cup unsweetened applesauce (instead of oil for a healthier fat swap)
3 large eggs
1 cup water
For the Peanut Butter Filling:
½ cup light peanut butter (smooth or chunky, depending on preference)
¾ cup nonfat Greek yogurt
¼ cup powdered sugar substitute (like erythritol or Stevia)
1 tsp vanilla extract
For the Topping:
1 cup light whipped topping
2 tbsp mini chocolate chips (optional)
2 tbsp light peanut butter, melted (for drizzling)
Instructions
- Bake the Cake
Preheat your oven to 350°F (175°C) and lightly grease a 9×13-inch baking pan.
In a bowl, combine the sugar-free chocolate cake mix, applesauce, eggs, and water. Stir until well combined.
Pour the batter into the prepared pan and bake for 25-30 minutes, or until a toothpick inserted into the center comes out clean.
Let the cake cool for 10-15 minutes. - Create the Poke Cake
Once the cake has cooled slightly, use the handle of a wooden spoon or a fork to poke holes all over the cake, about 1-inch apart.
Make sure the holes go deep enough to hold the peanut butter filling. - Make the Peanut Butter Filling
In a bowl, combine the peanut butter, Greek yogurt, powdered sugar substitute, and vanilla extract. Stir until smooth and creamy.
Carefully spoon the peanut butter mixture over the cake, gently spreading it into the holes, allowing the filling to seep into the cake. - Add the Topping
Spread the light whipped topping evenly over the entire cake.
Drizzle the melted peanut butter over the top, and sprinkle with mini chocolate chips if desired. - Chill & Serve
Refrigerate the cake for at least 2-3 hours to allow the flavors to meld and the cake to set.
Slice, serve, and enjoy!
Notes
- Use a sugar-free cake mix: Keeps the SmartPoints in check without sacrificing flavor.
Let the cake cool: Ensures the peanut butter filling sets properly in the holes.
Add More Peanut Butter Flavor: For an extra peanut butter punch, you can add some peanut butter powder to the filling mixture.
Chill Before Serving: The cake holds together better and the flavors intensify after a few hours in the fridge.
Make Ahead: This cake stores well in the fridge for up to 3 days, making it a great dessert for prepping ahead of time.