
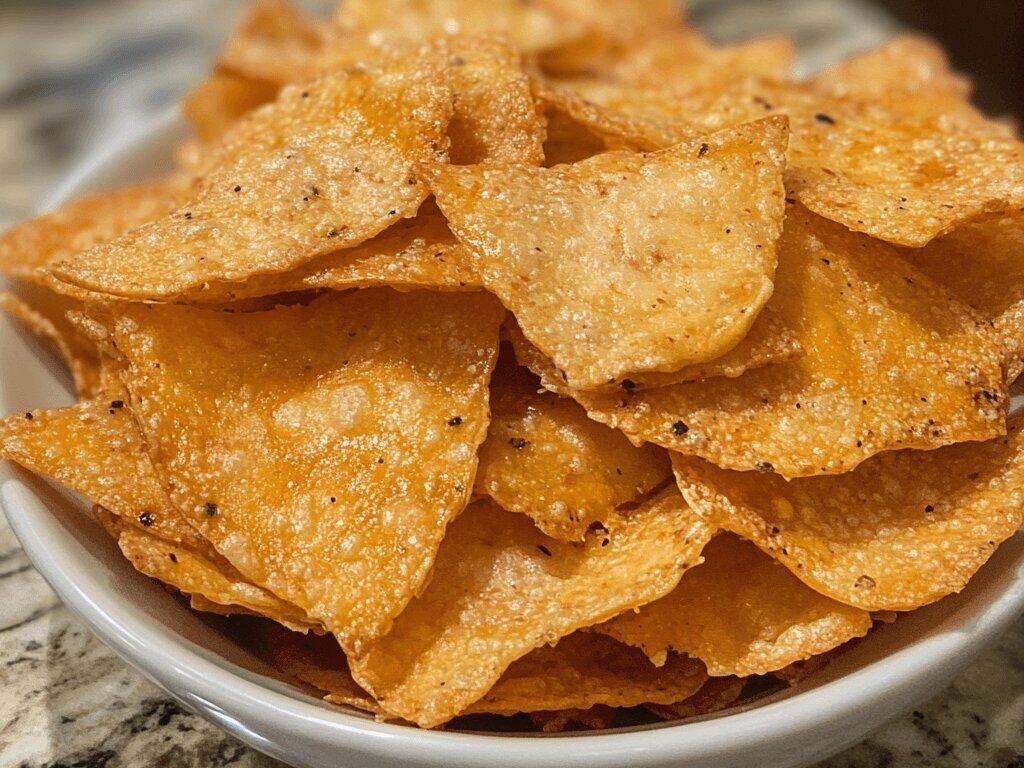
If you’re craving a crunchy, cheesy snack that fits into your Weight Watchers plan, look no further! Weight Watchers Cheese Crisps are the perfect way to satisfy your salty snack cravings without derailing your healthy eating goals. These simple, low-carb, and high-protein crisps are made with just one ingredient—cheese! They’re baked to crispy perfection and can be customized with your favorite seasonings for a delicious, guilt-free snack.
Ingredients:
- 1 ½ cups shredded cheese (cheddar, mozzarella, or Parmesan, or a combination)
- Optional seasonings: garlic powder, onion powder, Italian seasoning, paprika, chili powder, or black pepper
- Optional garnishes: chopped fresh herbs (like parsley or thyme) for added flavor
Instructions:
1. Preheat the Oven
Start by preheating your oven to 375°F (190°C). Line a baking sheet with parchment paper or a silicone baking mat to prevent the cheese from sticking.
2. Prepare the Cheese
Measure out 1 ½ cups of shredded cheese. For the crisps to hold together properly, it’s best to use cheese that is freshly shredded (rather than pre-grated cheese) for better texture and meltability.
3. Form the Crisps
Scoop tablespoon-sized portions of the shredded cheese and arrange them on the prepared baking sheet. Leave space between each portion to allow for the cheese to spread out while baking. If you like your crisps thin and extra crispy, gently flatten each mound of cheese with the back of a spoon.
4. Season
Sprinkle your desired seasonings over the cheese piles. Some great seasoning options include garlic powder, onion powder, Italian seasoning, or a pinch of paprika for a smoky flavor. Customize the flavors based on your preferences!
5. Bake
Place the baking sheet in the preheated oven and bake for 6-8 minutes, or until the cheese is melted, golden, and crispy. Keep an eye on the crisps towards the end of the baking time to make sure they don’t burn, as the cheese crisps quickly once it starts to brown.
6. Cool and Serve
Once baked, remove the crisps from the oven and let them cool on the baking sheet for a few minutes. This will allow them to firm up even more. Carefully transfer the cheese crisps to a plate or a storage container. Serve them as a snack, appetizer, or topping for soups and salads.
Nutritional Information (per serving, based on 6 servings):
- Calories: 100-120 (for a 2-piece serving)
- WW Points: 2-3 points per serving (depending on the cheese used)
- Fat: 8g
- Carbs: 1g
- Protein: 8g
Why You’ll Love This Recipe:
- Low-Carb and Keto-Friendly: These cheese crisps are naturally low in carbs, making them a perfect snack for those on a low-carb or keto diet. They’re also gluten-free, so they’re great for people with dietary restrictions.
- Quick and Easy: With just one ingredient (plus seasonings if you choose) and a few simple steps, these cheese crisps come together in no time. They’re perfect for when you want a quick, savory snack with minimal effort.
- Customizable Flavors: These crisps are totally customizable to your taste. Add your favorite seasonings or even experiment with different types of cheese to make these crisps your own.
- High in Protein: Packed with protein, cheese crisps are a great snack to keep you full and satisfied between meals, helping curb hunger cravings without overindulging in empty calories.
- Perfect for Snacking: These crisps make a great snack on their own, or you can use them as a crunchy topping for salads, soups, or even as a fun addition to a charcuterie board.
Pro Tips:
- Try Different Cheeses: Experiment with different types of cheese for varying flavors and textures. Parmesan gives a nice, salty bite, while cheddar adds more richness. Mozzarella provides a gooey texture if you prefer a softer crisp.
- Make Mini Crisps: If you want to make mini cheese crisps, simply use a teaspoon to scoop the cheese and spread them out in smaller mounds. You’ll get more crispy bites, perfect for snacking.
- Storage: Cheese crisps are best enjoyed immediately after baking, but they can be stored in an airtight container for a couple of days. If they lose their crispiness, just pop them in the oven for a few minutes to bring them back to life.
- Add Spice: For a little extra heat, sprinkle some chili powder, cayenne pepper, or crushed red pepper flakes on top before baking.
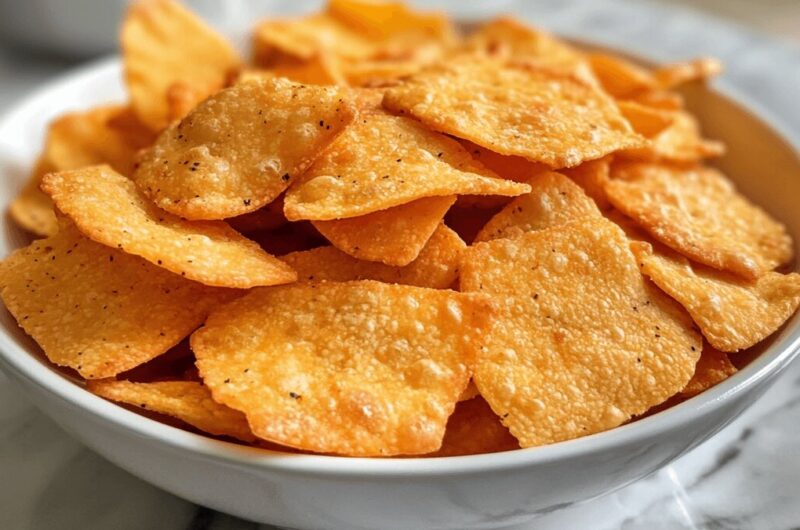
These Weight Watchers Cheese Crisps are a simple, low-carb snack that’s crunchy, cheesy, and totally customizable. Whether you’re looking for a healthy snack, a topping for your favorite dish, or a fun appetizer for your next get-together, these crisps are the perfect solution. They’re easy to make, high in protein, and just the right amount of indulgent without the extra calories. Try making a batch today, and you’ll never look at cheese the same way again!
Cheese Crisps Recipe: A Simple, Crispy, and Delicious Snack
6
servings10
minutes25
minutes100-120
kcalIngredients
1 ½ cups shredded cheese (cheddar, mozzarella, or Parmesan, or a combination)
Optional seasonings: garlic powder, onion powder, Italian seasoning, paprika, chili powder, or black pepper
Optional garnishes: chopped fresh herbs (like parsley or thyme) for added flavor
Directions
- Preheat the Oven
Start by preheating your oven to 375°F (190°C). Line a baking sheet with parchment paper or a silicone baking mat to prevent the cheese from sticking. - Prepare the Cheese
Measure out 1 ½ cups of shredded cheese. For the crisps to hold together properly, it’s best to use cheese that is freshly shredded (rather than pre-grated cheese) for better texture and meltability. - Form the Crisps
Scoop tablespoon-sized portions of the shredded cheese and arrange them on the prepared baking sheet. Leave space between each portion to allow for the cheese to spread out while baking. If you like your crisps thin and extra crispy, gently flatten each mound of cheese with the back of a spoon. - Season
Sprinkle your desired seasonings over the cheese piles. Some great seasoning options include garlic powder, onion powder, Italian seasoning, or a pinch of paprika for a smoky flavor. Customize the flavors based on your preferences! - Bake
Place the baking sheet in the preheated oven and bake for 6-8 minutes, or until the cheese is melted, golden, and crispy. Keep an eye on the crisps towards the end of the baking time to make sure they don’t burn, as the cheese crisps quickly once it starts to brown. - Cool and Serve
Once baked, remove the crisps from the oven and let them cool on the baking sheet for a few minutes. This will allow them to firm up even more. Carefully transfer the cheese crisps to a plate or a storage container. Serve them as a snack, appetizer, or topping for soups and salads.