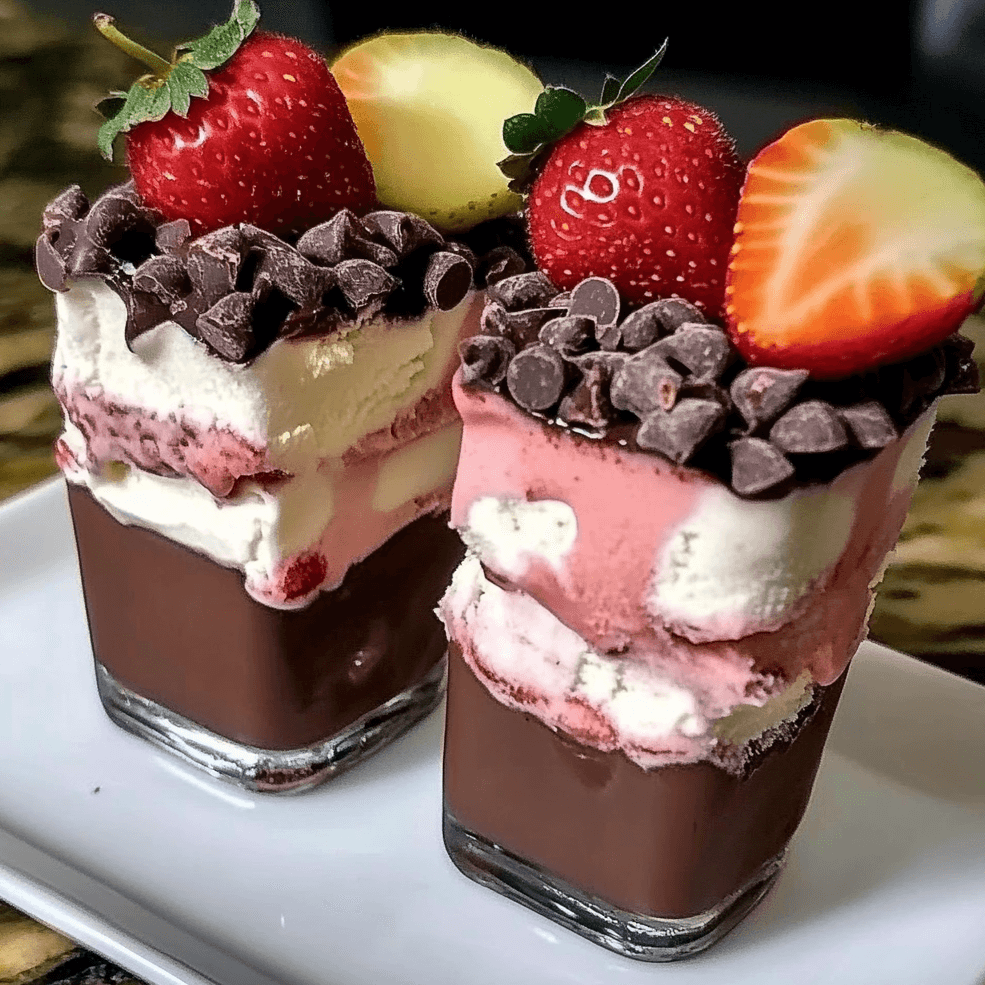
There’s nothing more satisfying than a creamy, chocolate-dipped ice cream bar on a warm day. These Homemade Chocolate-Strawberry Ice Cream Bars are a perfect treat that balances rich chocolate with the natural sweetness of fresh strawberries. Made with simple ingredients and no artificial additives, they offer a guilt-free way to enjoy a frozen dessert at home.
These bars are easy to prepare, requiring just a bit of blending, freezing, and dipping. Whether you’re making them for a summer treat, a special occasion, or just to have on hand when cravings hit, you’ll love how refreshing and indulgent they are—without the extra sugar or preservatives found in store-bought versions.
Why You’ll Love This Recipe
Creamy & Refreshing: The perfect blend of fruit and chocolate for a delicious frozen dessert.
Easy to Make: No fancy equipment needed—just a blender, freezer, and a few simple ingredients.
Healthier Alternative: Uses natural sweeteners and whole ingredients for a lighter treat.
Perfect for Any Occasion: Enjoy as a snack, dessert, or even a post-workout treat.
Customizable: Swap strawberries for other fruits or experiment with different chocolate coatings.
Ingredients
For the Ice Cream Base:
- 2 cups fresh strawberries, hulled
- ¾ cup low-fat Greek yogurt (or dairy-free yogurt)
- 2 tbsp honey or maple syrup (adjust for sweetness)
- 1 tsp vanilla extract
- ½ cup unsweetened almond milk (or preferred milk)
For the Chocolate Coating:
- 1 cup dark chocolate chips (or sugar-free chocolate for a lower-calorie option)
- 1 tsp coconut oil (for a smoother coating)
- Optional: Crushed nuts, freeze-dried strawberry pieces, or shredded coconut for garnish
Instructions
Make the Strawberry Ice Cream Base
- In a blender or food processor, combine strawberries, Greek yogurt, honey, vanilla extract, and almond milk.
- Blend until smooth and creamy. Taste and adjust sweetness if needed.
Pour & Freeze
- Pour the mixture evenly into popsicle molds or a silicone ice cream bar mold.
- Insert popsicle sticks into each mold and freeze for at least 4 hours, or until fully solid.
Prepare the Chocolate Coating
- In a microwave-safe bowl, combine dark chocolate chips and coconut oil.
- Microwave in 20-second intervals, stirring between each, until fully melted and smooth.
Dip & Set
- Remove the frozen bars from the molds. Dip each bar into the melted chocolate, ensuring an even coating.
- If desired, sprinkle with crushed nuts, freeze-dried strawberry pieces, or coconut before the chocolate hardens.
- Place the coated bars on a parchment-lined baking sheet and return to the freezer for 10-15 minutes to set.
Serve & Enjoy
Once the chocolate has hardened, your ice cream bars are ready to enjoy! Store any extras in an airtight container in the freezer for up to 2 weeks.

Nutritional Information (Per Bar, Based on 6 Servings)
Calories: 130 | Protein: 4g | Carbs: 15g | Fat: 6g | Fiber: 3g
Tips for Success
- Use Ripe Strawberries: The riper the berries, the sweeter the ice cream will be without needing extra sweeteners.
- Don’t Skip the Coconut Oil: This helps the chocolate harden into a smooth, crackly shell.
- Work Quickly When Dipping: If the bars start melting, place them back in the freezer for a few minutes before continuing.
- Experiment with Flavors: Try swapping strawberries for raspberries, blueberries, or bananas for a different fruity twist.
- Make It Dairy-Free: Use coconut yogurt and dairy-free chocolate chips for a fully plant-based version.
Why This Recipe Works
- Naturally Sweetened: Using honey and fruit keeps these bars flavorful without relying on refined sugar.
- Rich & Satisfying: The chocolate shell adds a satisfying crunch that pairs perfectly with the creamy strawberry filling.
- Portion-Controlled: Each bar is the perfect size for enjoying a treat without overindulging.
- Easy to Customize: Whether you like extra toppings or prefer different flavors, these bars can be tailored to your taste.
These Homemade Chocolate-Strawberry Ice Cream Bars are the perfect balance of creamy, fruity, and chocolatey goodness. Made with wholesome ingredients and easy to prepare, they’re a delicious way to enjoy a frozen treat without the extra sugar or artificial ingredients.
Whether you’re cooling off on a hot day, treating yourself to a post-dinner dessert, or making a fun snack for the family, these bars are guaranteed to satisfy. Try them out, customize with your favorite toppings, and enjoy every bite!
How to Make Homemade Chocolate-Strawberry Ice Cream Bars from Scratch
6
servings20
minutes130
kcalIngredients
For the Ice Cream Base:
2 cups fresh strawberries, hulled
¾ cup low-fat Greek yogurt (or dairy-free yogurt)
2 tbsp honey or maple syrup (adjust for sweetness)
1 tsp vanilla extract
½ cup unsweetened almond milk (or preferred milk)
For the Chocolate Coating:
1 cup dark chocolate chips (or sugar-free chocolate for a lower-calorie option)
1 tsp coconut oil (for a smoother coating)
Optional: Crushed nuts, freeze-dried strawberry pieces, or shredded coconut for garnish
Instructions
- Make the Strawberry Ice Cream Base
In a blender or food processor, combine strawberries, Greek yogurt, honey, vanilla extract, and almond milk.
Blend until smooth and creamy. Taste and adjust sweetness if needed. - Pour & Freeze
Pour the mixture evenly into popsicle molds or a silicone ice cream bar mold.
Insert popsicle sticks into each mold and freeze for at least 4 hours, or until fully solid. - Prepare the Chocolate Coating
In a microwave-safe bowl, combine dark chocolate chips and coconut oil.
Microwave in 20-second intervals, stirring between each, until fully melted and smooth. - Dip & Set
Remove the frozen bars from the molds. Dip each bar into the melted chocolate, ensuring an even coating.
If desired, sprinkle with crushed nuts, freeze-dried strawberry pieces, or coconut before the chocolate hardens.
Place the coated bars on a parchment-lined baking sheet and return to the freezer for 10-15 minutes to set. - Serve & Enjoy
Once the chocolate has hardened, your ice cream bars are ready to enjoy! Store any extras in an airtight container in the freezer for up to 2 weeks.
Notes
- Use Ripe Strawberries: The riper the berries, the sweeter the ice cream will be without needing extra sweeteners.
Don’t Skip the Coconut Oil: This helps the chocolate harden into a smooth, crackly shell.
Work Quickly When Dipping: If the bars start melting, place them back in the freezer for a few minutes before continuing.
Experiment with Flavors: Try swapping strawberries for raspberries, blueberries, or bananas for a different fruity twist.
Make It Dairy-Free: Use coconut yogurt and dairy-free chocolate chips for a fully plant-based version.

